Device Patch & Universe Setup Manual
The Device Patch & Setup screen is where you configure physical DMX output universes, pair hardware dongles, patch lighting fixtures, assign channel footprints, and organize equipment with tags.
🔌 Universe Configuration & Hardware Pairing
Unilighter supports multiple independent DMX universes (512 channels per universe).
Connecting Hardware Interfaces
- Open the Setup screen from the sidebar or by navigating to
/#/setup. - In the Universes panel on the left, click Add Universe or select an existing universe.
- To transmit to physical lights, click Connect Output and select your hardware interface:
- USB DMX: Standard uDMX or FTDI USB-to-RS485 interface connected directly via USB.
- Wireless BLDMX: Bluetooth DMX transmitter paired wirelessly.
- Network DMX (Art-Net & sACN): Broadcast, unicast, or multicast DMX over local Ethernet / Wi-Fi via Unilighter Desktop.
- Click Connect. When active, the universe indicator illuminates in green.
Note
Offline Pre-Programming & Visualizer: You do not need to select a dummy driver to program offline. When an interface is disconnected or unassigned, Unilighter's internal engine and the 3D Stage Visualizer remain fully active, rendering all scenes, animations, and node graphs in real time without physical hardware.
💡 Adding & Addressing Fixtures
To patch fixtures into a universe:
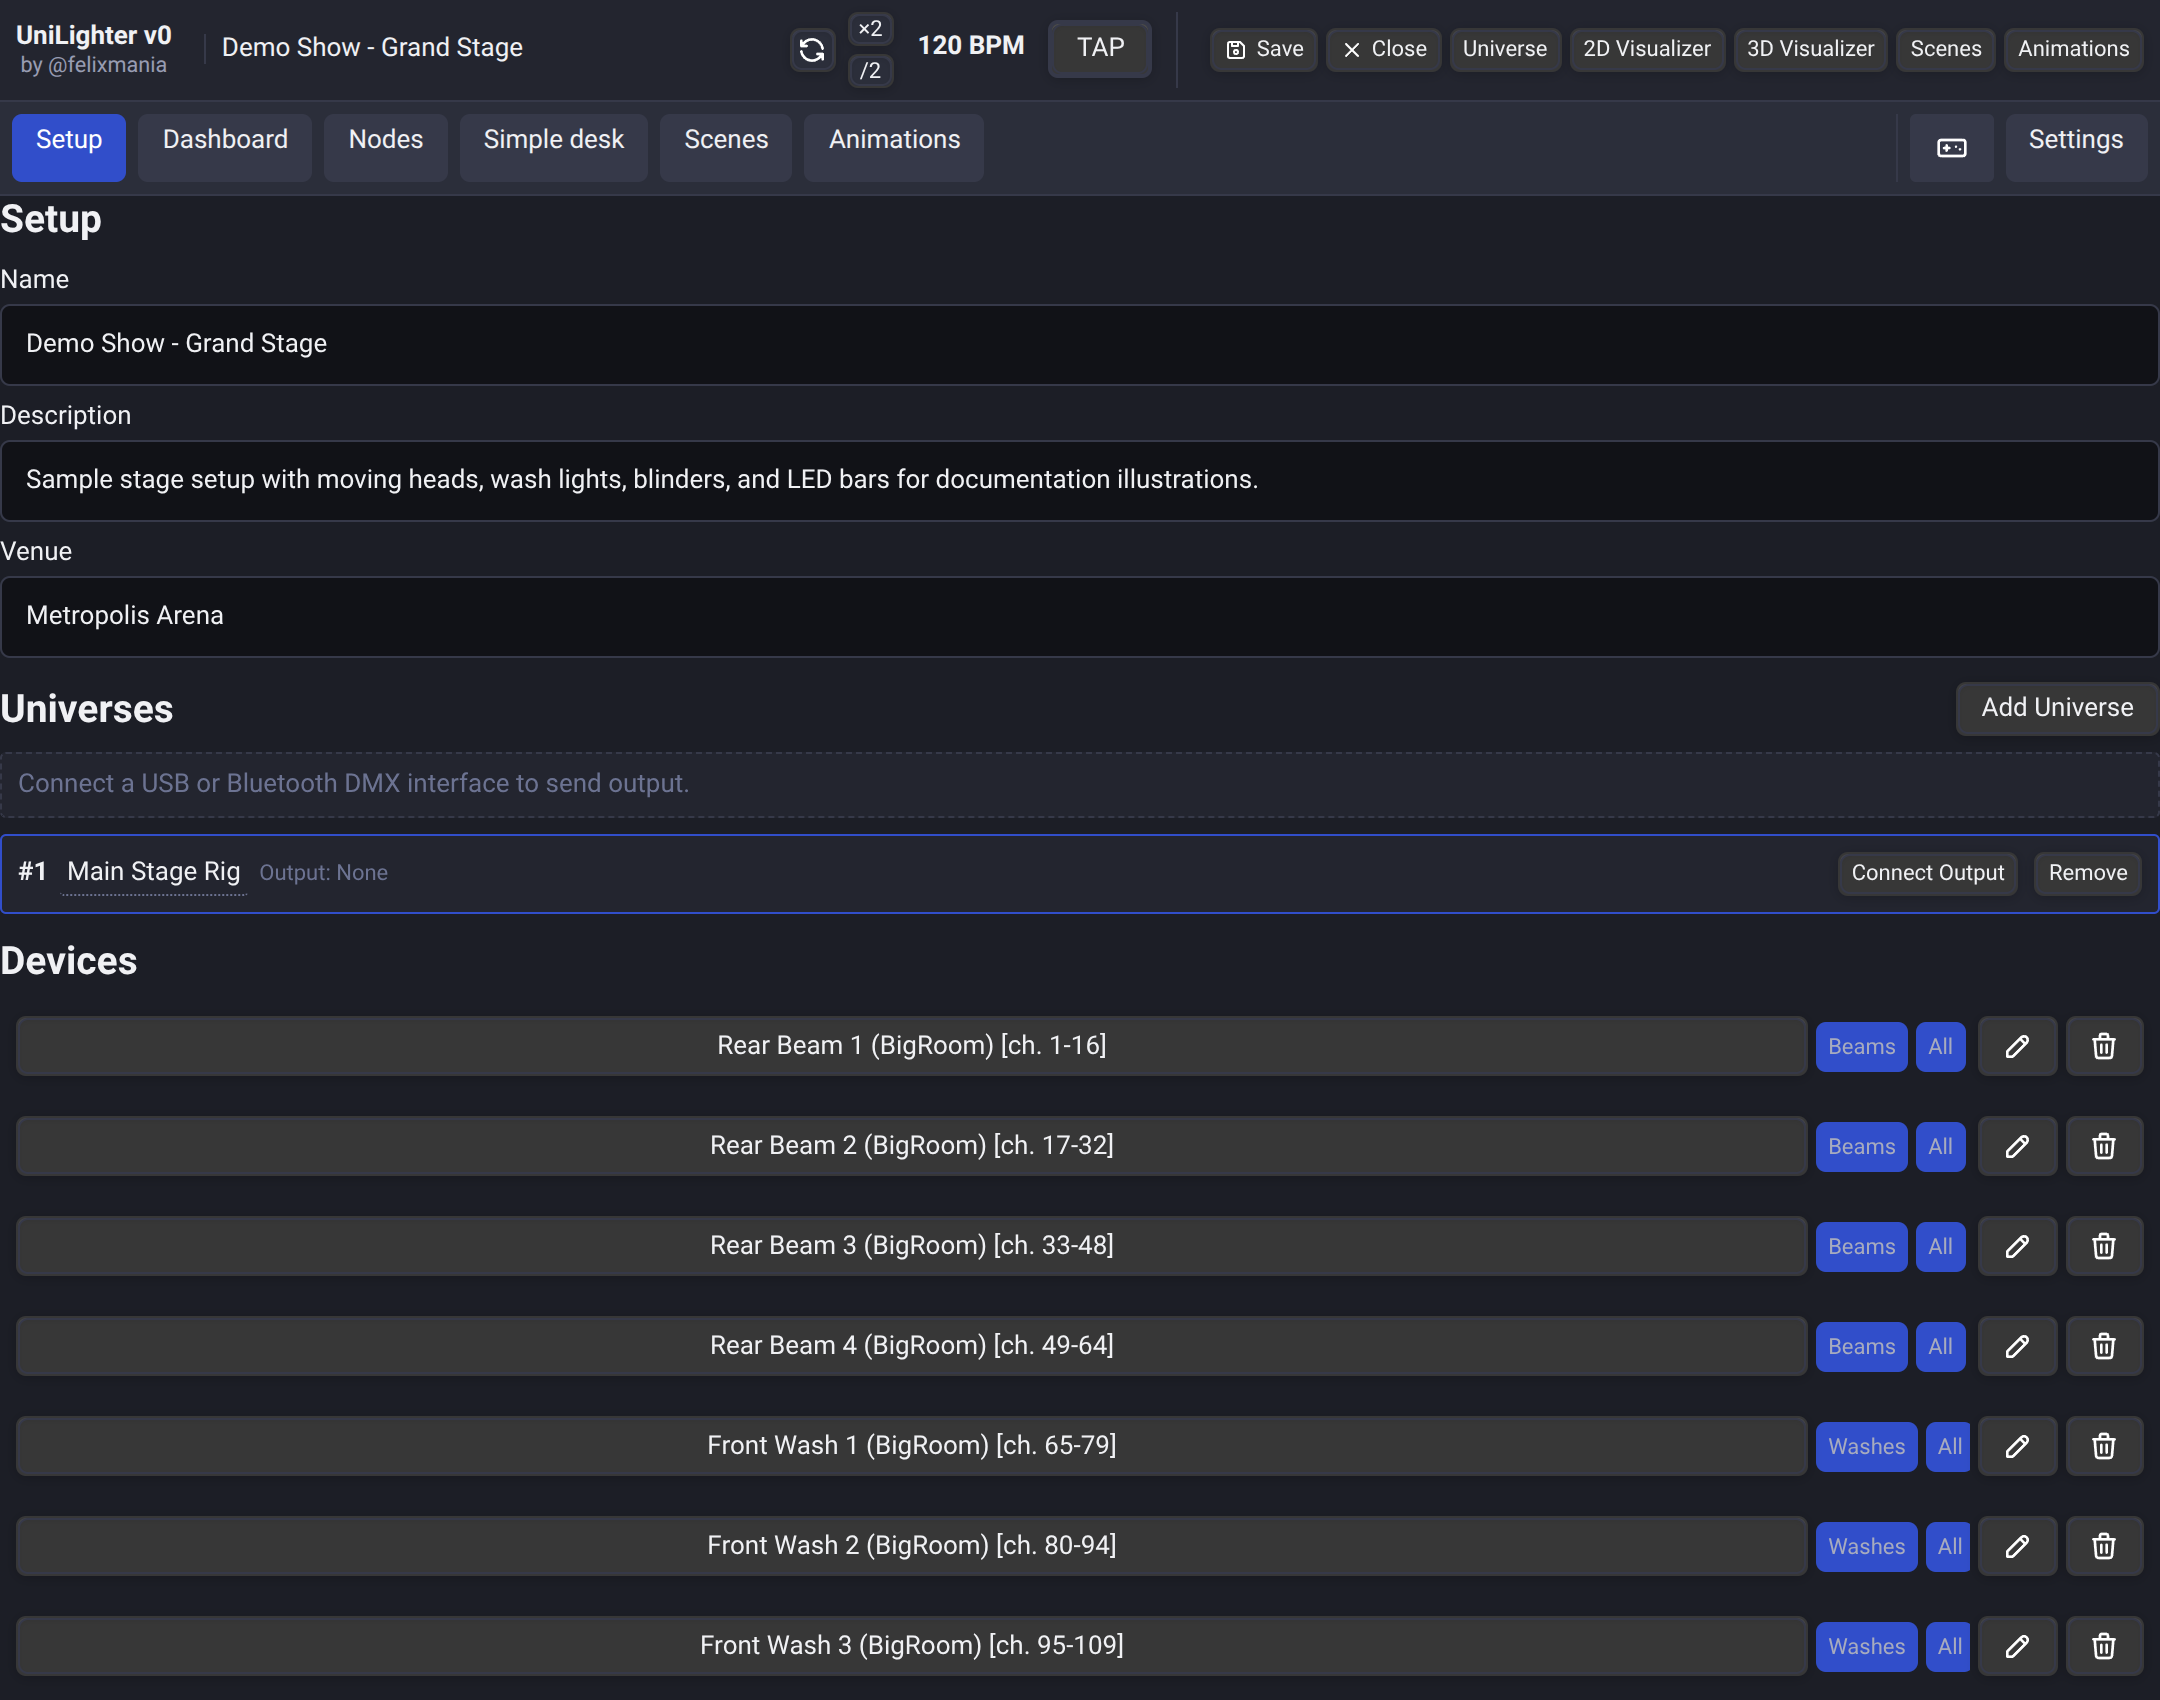
- Click + Add Device in the universe toolbar.
- Select a fixture definition from your library (or create one in the Fixture Profile Editor).
- Configure addressing parameters:
- Name / Label: Assign a recognizable name (e.g. Spot Front Left, Wash Back #3).
- Operating Mode: Select the channel mode matching your physical fixture's dip switch / menu setting (e.g.
16ch Extended,4ch Basic). - Start Address: Set the starting DMX channel (
1–512). Unilighter automatically calculates and displays the ending channel footprint. - Quantity & Offset: Patch multiple identical fixtures at once with automatic consecutive address spacing.
⚠️ Address Collision Detection
Unilighter includes real-time collision prevention:
- If a newly patched fixture's channel footprint overlaps with an existing fixture on the same universe, the channel bar highlights in Red with an address collision warning badge.
- You can drag fixture blocks horizontally along the 512-channel timeline to resolve conflicts instantly or use Auto-Pack to organize channels sequentially without gaps.
🏷️ Organizing Fixtures with Tags
Instead of rigid submaster groups, Unilighter uses dynamic Fixture Tags:
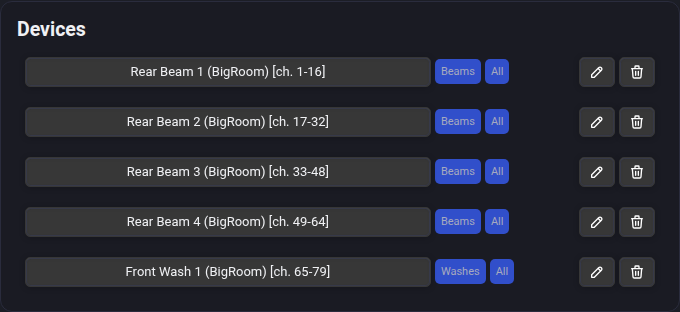
- Click on any patched fixture and type custom tags in the tag bar (e.g.
#Beams,#Washes,#FrontStage,#BackTruss,#VIP). - A single fixture can carry multiple tags simultaneously.
- Tags immediately populate across the Live Dashboard, Device Control Widgets, Keyframe Animation tracks, and Node Graphs.
🔀 Multi-Head & Pixel Bar Patching
For multi-cell LED bars, pixel battons, and multi-emitter fixtures:
- Unilighter maps both master channels (
Dimmer Shared,Strobe Shared) and individual cell emitters (Head 0,Head 1, ...Head N) within a single device container. - You do not need to patch separate individual sub-devices for each pixel head; all heads are managed together while remaining independently controllable in scenes and animations.
For a complete architectural breakdown of
SHARED_HEAD, dimmer inheritance, and sub-emitter targeting, see the dedicated Multi-Head Fixtures & Pixel Bar Architecture Manual.
🔄 Batch Actions & Rig Cloning
- Duplicate / Clone: Select any fixture or group of fixtures and click Duplicate to replicate profiles and tag assignments to new start addresses.
- Universe Migration: Move fixtures seamlessly between physical universes by updating the target universe selector.
- Print Patch Sheet: Click the Print icon in the patch header to generate high-contrast printable paperwork with a 512-channel universe occupancy grid, rendered binary DIP switch diagrams, and fixture schedule tables for stagehands and riggers.